> For the complete documentation index, see [llms.txt](https://docs.creditcoin.org/llms.txt). Markdown versions of documentation pages are available by appending `.md` to page URLs; this page is available as [Markdown](https://docs.creditcoin.org/dex/general/liquidity.md).
# How to add liquidity
To add liquidity you will need to make sure that you have a balance for both tokens in the pool you want to provide liquidity to.\
\
First click on the "Pool" tab at the top of the page.
Then select both tokens you want to add liquidity for and select the fee tier for which you want to add liquidity.\
\
You can either specify the price range you are willing to trade in or select full range if you don't want to specify a range.\
\
If you are creating a pool, you will also need to enter the starting price of the pair.\
\
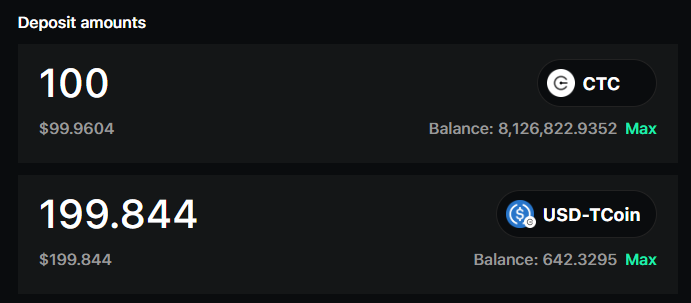
Then enter the deposit amount of one or the other currency. The other will fill in automatically based on the pair price.
If this is the first time that you are using the currency on PenguinSwap, you will need to approve the token. For more detail, check the [approval and signature request page](https://docs.creditcoin.org/dex/general/what-is-an-approval-transaction).\
\
Otherwise, you can click on "preview" and then on "Add" to add the liquidity specified.\
Then it will ask for your signature to go through with the transaction. Click on "Sign" to proceed.\
Once submitted, your transaction will be sent to the blockchain where it will take a few moments to confirm.